Showing posts with label Lace Ribbon. Show all posts

Thursday, August 20, 2015

Techniques for 3D Foam Shapes

Hello my peeps! Today I have FOUR different stepped out techniques for you to use with my new 3D Foam Keys and 3D Foam Swirls from Scrapbook Adhesives by 3L®

These are the 4 little mini projects that I created to show you the techniques.

I've got these projects in order below from basic to complex.

Pigment Powder With 3D Foam Keys

1. Adhere the 3D Foam Keys to your surface.

2. Remove the liner.
3. Use finger to rub Brown Pigment Powder over adhesive.

The Pigment Powder is so fine that the adhesive will no longer be tacky!

Add embellishments to finish (loopy lace from the Lace Ribbons were used).


Pigment Powder and Glitter With 3D Foam Swirls

1. Adhere 3D Foam Swirls to surface.
2. Use paintbrush to dab 2 different colors of Pigment Powder on the ends.

3. Add glitter & rub into adhesive.

You get a Girlie Grunge 3 toned effect!

Embellish to finish (loopy lace from the Lace Ribbons and Canvas Ribbons used).


Hanging 3D Foam Keys With Embossing Powder and Pigment Powder

1. Remove the 3D Foam Keys from the sheet.
2. Leave top liner on 3D Foam Key.
3. Flip 3D Foam Key over.
4. Add embossing powder.

5. Return excess powder to container.
6. Heat set embossing powder.

7. Turn 3D Foam Key over.
8. Remove top liner.
9. Use finger to rub Brown Pigment Powder onto adhesive.

10. Tie wire or string through the top of the 3D Foam Key.
Front (left) Embossed surface - Back (right) Pigment Powder

Add to your project
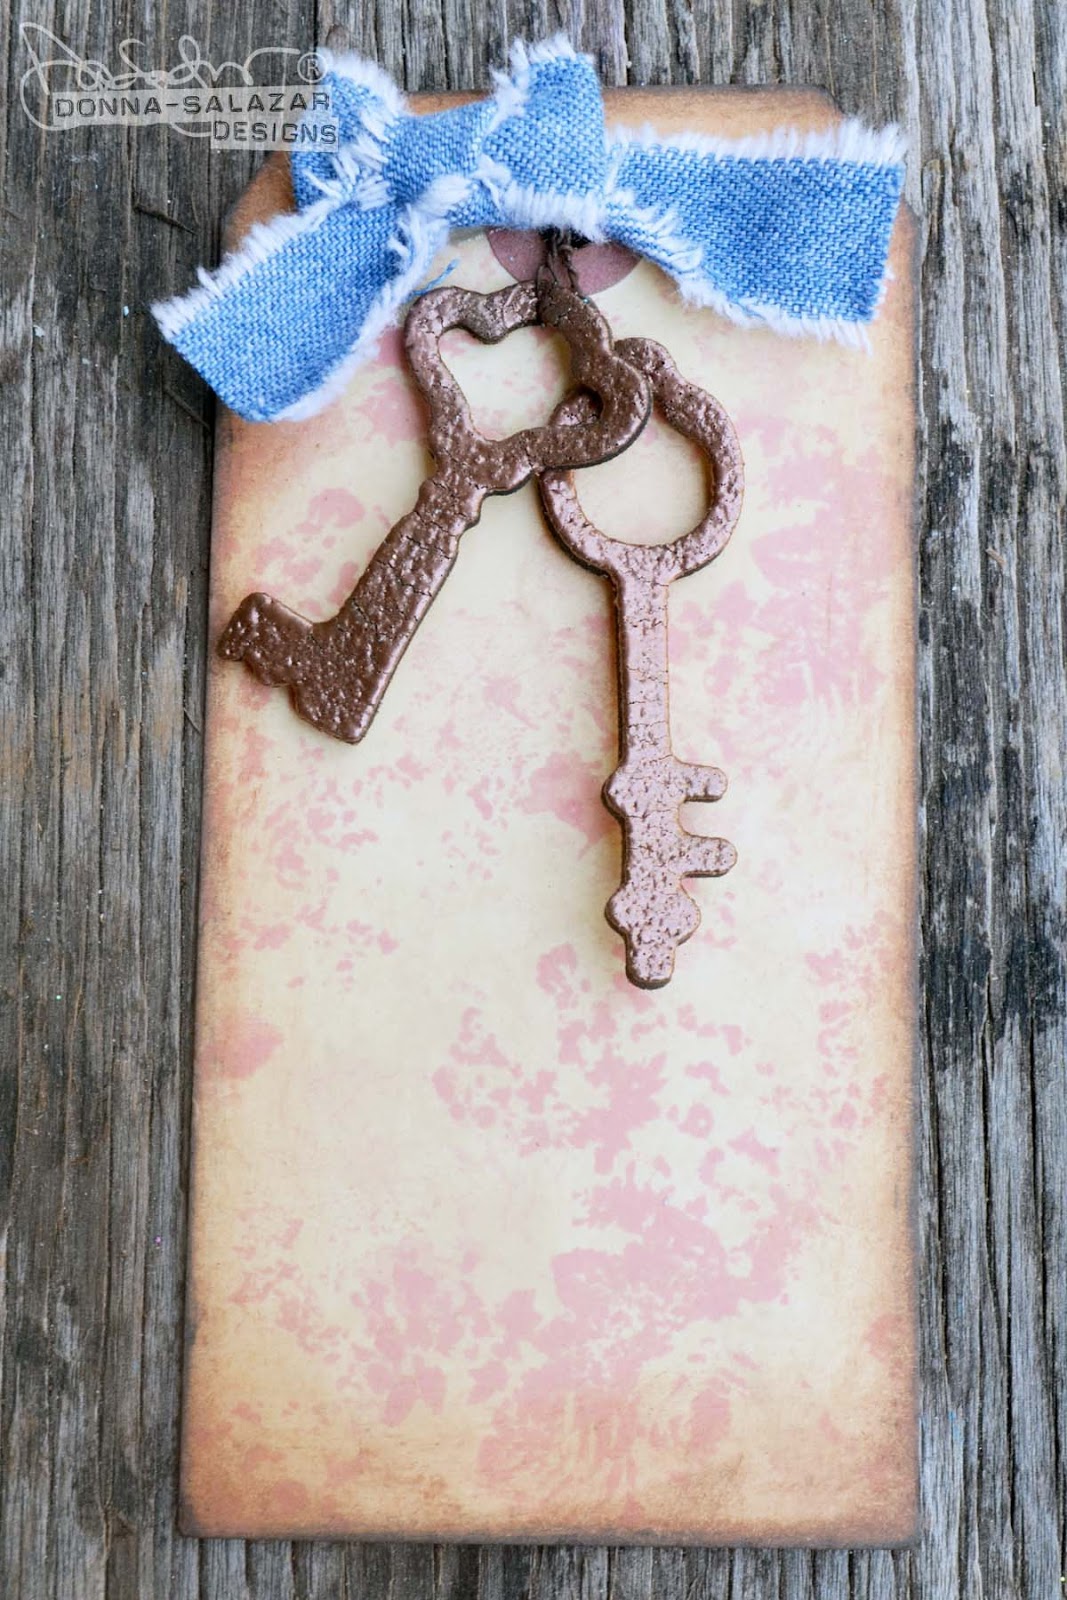
You can see that the 3D Foam Keys are hanging free, away from the tag.

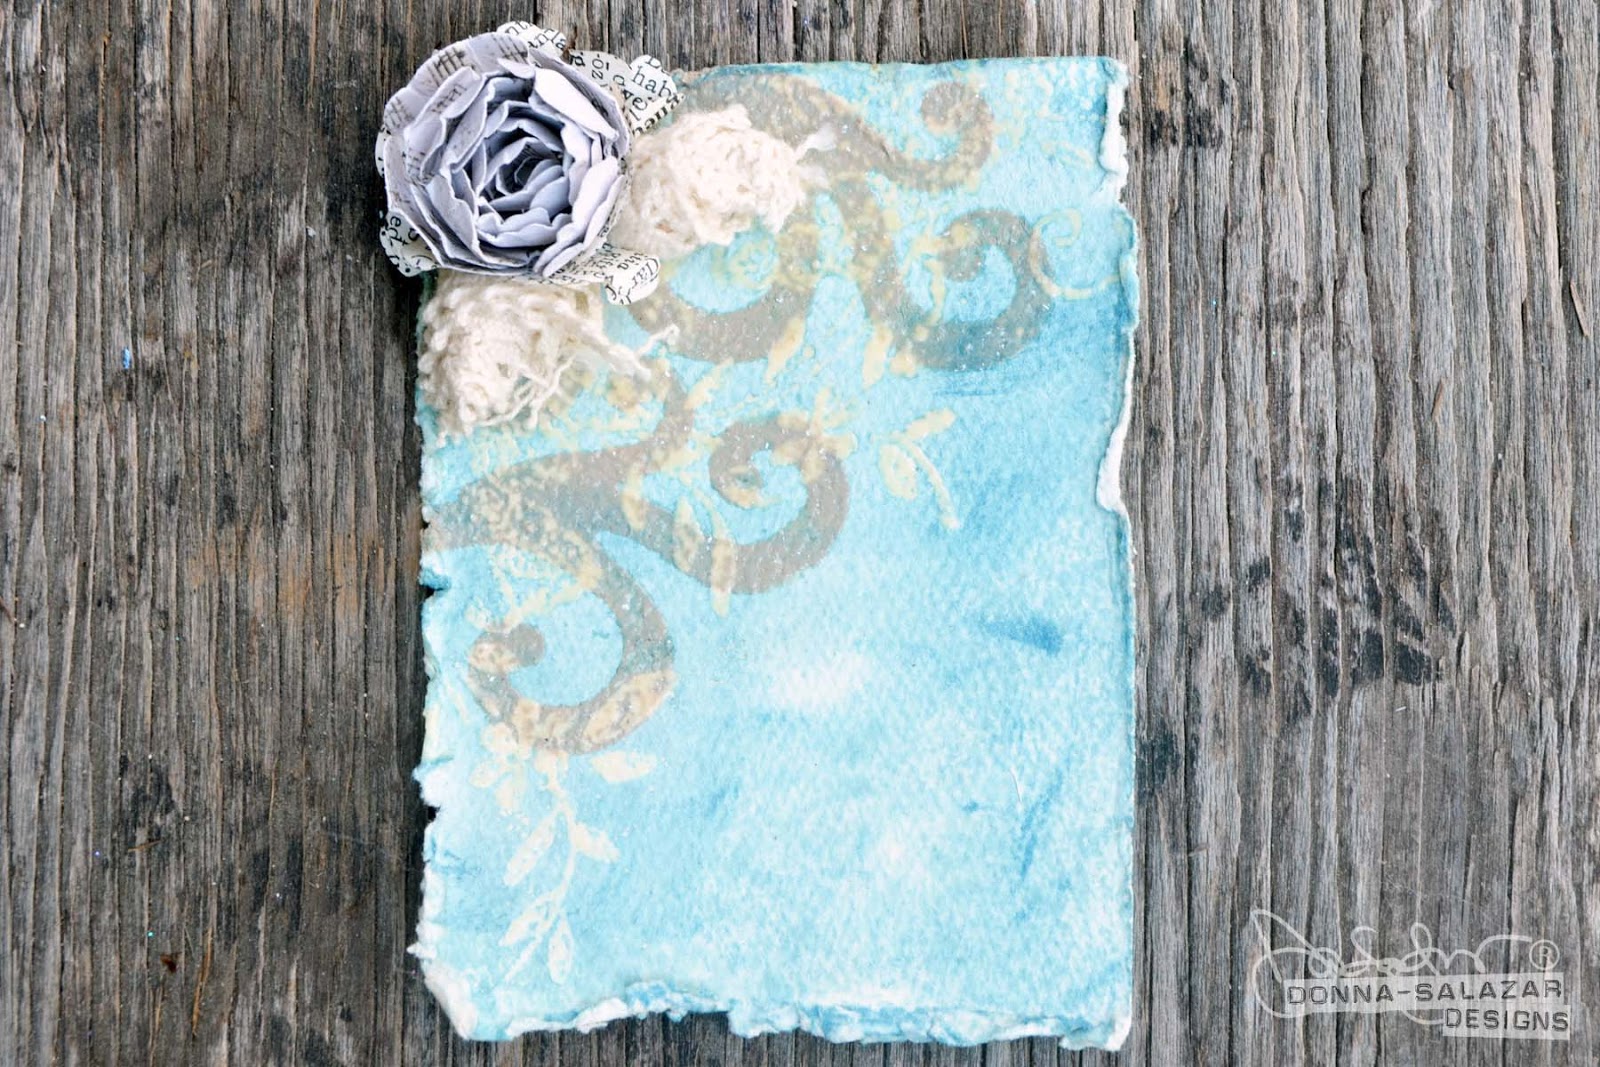
Stamping With 3D Foam Swirls

1. Adhere 3D Foam Swirls to a piece of acrylic.
2. Paint with clear gesso or acrylic medium and let dry.

3. Stamp images using Mix'd Media Inx (pigment ink).
4. Sprinkle clear embossing powder over stamped images.

5. Return excess embossing powder to container.
6. Heat set embossing powder.

Embellish to finish (Texture Ribbons & Spellbinder Bitty Blossoms dies used) 

Product used:

Mix'd Media Inx® - Honey
Mix'd Media Inx® CHOX - Driftwood, Sparrow, Petals
Mix'd Media Inx Embossing Powder - Leather
Twinkle Dust Glitter


Thanks for Stopping by!!! Smooches ~D~
Where to find Donna:

Monday, August 10, 2015

"Strength of My Life" ATC by Tracey Sabella

Hi everyone! It's Tracey back to share a new project featuring Donna's fabulous products. I wanted to do something that would brighten my day when I see it and came up with this sweet ATC. This is my first attempt to try out an ATC size project. I hope you enjoy it! 

"Strength of My Life"

Tips and Techniques
I grunged up one of Donna's Scrapbook Adhesives by 3L® 3D Foam Swirls by sprinkling with her Clearsnap Twinkle Dust Glitter and Jasmine Mix'd Media Inx Embossing Powder and heat set. For a finishing touch, I rubbed it lightly with Donna's Scrapbook Adhesives by 3L® blue Pigment Powder.

I created two of Donna's Spellbinders Bitty Blossoms flowers. One in ivory mulberry paper and the other with a typeset print paper. I've filled in with some tattered lace and a bit of the looped lace from Donna's Scrapbook Adhesives by 3L® Lace Ribbons. The lace is colored with her Clearsnap Smooch Spritz and Pigment Powders.

This encouraging sentiment is stamped with Clearsnap/Colorbox Leather Mix'd Media Inx then heat embossed with coordinating Mix'd Media Inx Embossing Powder to really pop. The Leather Embossing Powder has a wonderful coppery metallic sheen.

Here's another snippet of distressed and colored lace. The video tutorial for my Girlie Grunge Denim Rose includes my process for altering the lace. You can view that video HERE.

I bought this pack of artist trading cards a long time ago and never realized they have embossed designs on them. I brushed the card with Donna's Sea Breeze Smooch Spritz to reveal the detailed, girlie embossing and rubbed her Brown Pigment Powder mixed with water along the edges.

So the next time you need a little pick me up, or a quick gift, try grabbing
Donna's fabulous products and create your own ATC.

~ Blessings ~
Tracey


Donna Salazar Products


Partner Products

For a complete product list, please stop by my blog, Garden of Grace.

Saturday, July 18, 2015

"Embrace Messy Hair" by Donna

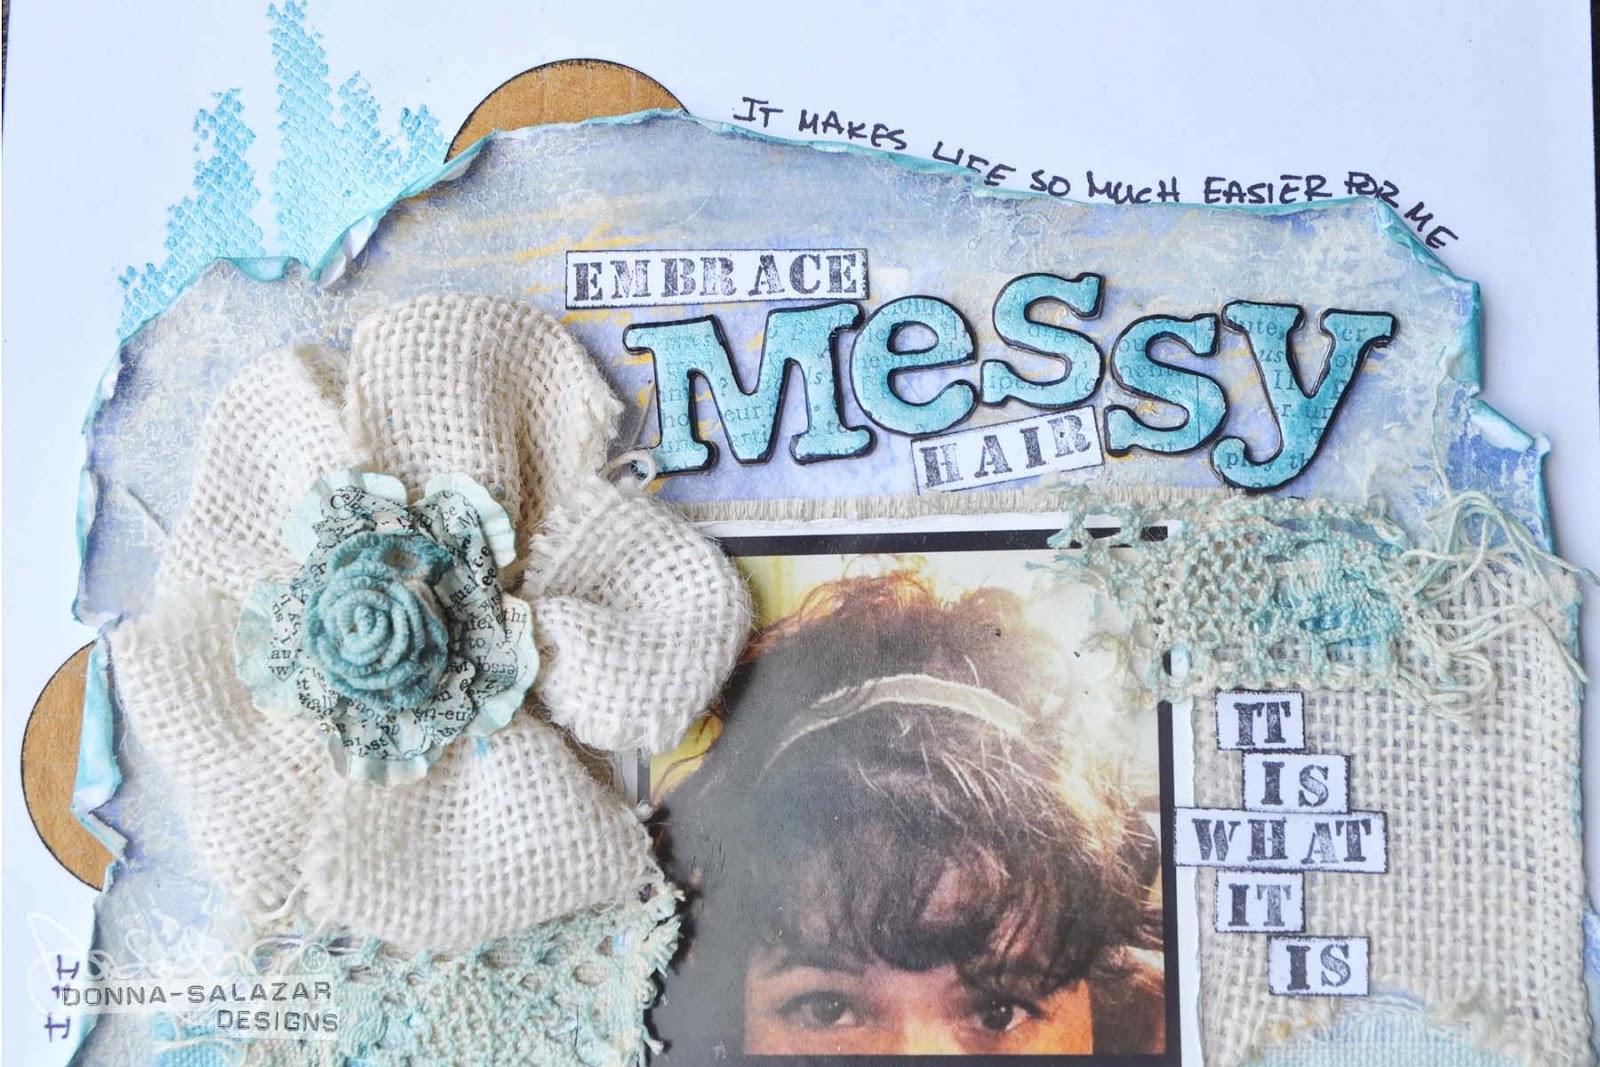
Hello my peeps! Today I've got a new #QuickCraftTips video for you on the Scrapbook Adhesives by 3L® blog. This is a new video for my #donnasgarden flower technique series. Below I've got a few close ups of the layout that the flower was made for.

Before I get started I wanted to mention that my new products from Scrapbook Adhesives by 3L are NOW AVAILABLE on the website!!! You can check them out here: Donna Salazar with Scrapbook Adhesives by 3L®


I used my new canvas Pennant Set, Lace Ribbons, Texture Ribbons, Canvas Ribbons and Pigment Powder.


In the photo above you can see a close up of the dot pattern that I created using my Pigment Powder and E-Z Dots® Permanent Runner from Scrapbook Adhesives by 3L®


I used my Mix'd Media Inx CHOX from Clearsnap® The Makers of Colorbox® to stamp the title, Ink the edges of the word strips, the circles and also ink the rolled edges of the background paper.


Product used:

Scrapbook Adhesives by 3L® 

Mix'd Media Inx® CHOX - Midnight, Patina


Thanks for Stopping by!!! Smooches ~D~
Where to find Donna:

Sunday, July 12, 2015

"Hunter Daniel" by Donna

Hello my peeps! Today I have a layout to share with you. I haven't created layouts in a long while but I'm totally on a roll now!!! I think that this layout might be one of my all time favorite layouts that I've ever made... It might be because of the the adorable subject but I like the design too. ;) I don't have any techniques for you today. I just wanted to share what I've made.


I used some of my new products from Scrapbook Adhesives by 3L® and some of my tried and true faves from Clearsnap® the makers of Colorbox® and Spellbinders®.


In the photo above you can see quite a bit of the products from Scrapbook Adhesives by 3L®. I've got my new Lace Ribbons making the frame, my new 3D Foam Swirls, my new E-Z Stars, and my new Pigment Powder in Gold.


The photo above shows the tiny flowers I made with my Carnation Creation dies that have E-Z Stars as a flower center. You can also see that I've added some 3D Foam Stars from Scrapbook Adhesives by 3L®. I added some of my Twinkle Dust glitter to the E-Z Stars as well as all the 3D Foam products.


In the photo above you can see that the white 3D Foam products are glittery but also gold! After I added some glitter to them I rubbed some of my Pigment Powder in Gold right over the top of the glitter. The 3D Foam products were slightly sticky until after I rubbed the Pigment Powder over them.


I stamped the words onto paper strips using my Mix'd Media Inx in Midnight and adhered them to the page. I also mixed some Pigment Powder in Gold with some Fast Finish Decoupage then used a paintbrush to add some shiny gold splatters and drops.


I added a little bit of vintage color to the flowers and the edge of the layout using my Mix'd Media Inx CHOX in Driftwood.


And below is a photo of the entire layout.


Product used:
*NEW* Lace Ribbons
*NEW* E-Z Stars
*NEW* 3D Foam Swirls
*NEW* Pigment Powder - Gold

Twinkle Dust Glitter - Sugar Shimmer
Mix'd Media Inx® CHOX - Driftwood, Midnight


Beacon Adhesives - Fast Finish Decoupage

Thanks for Stopping by!!! Smooches ~D~
Where to find Donna: