Showing posts with label Clearsnap®. Show all posts

Wednesday, November 18, 2015

Christmas Card & Layout by ~Donna Salazar

Hello my peeps! I've been crazy busy with preparations for CHA so it was nice to be able to take a break and make a layout and card using some of my favorite products from Spellbinders®, Scrapbook Adhesives by 3L® and Clearsnap® with "Dear Santa" papers and stickers from my friends at Photoplay™.


The first project I'm sharing is this 8.5"x11" layout with a photo of me and my bestie with my daughter that was taken TEN YEARS AGO!!! My how time has just flown by!!!


In the close up below you can see some matte splatters and some glittery splatters. I pressed my Mix'd Media Inx pad onto a non stick craft sheet then blended with water and used a fan brush to splatter. I then watered down some white acrylic paint and used the same brush to splatter that. While the paint was still wet I sprinkled my Twinkle Dust Glitter in Sugar Shimmer over it and I got 2 different types of splatters. I also added some of my E-Z Stars with the same glitter.


I added a little Girlie Grunge touch with my denim ribbon on the strip as well as a rolled denim ribbon flower. 


I made a couple of Bitty Blossoms out of white card stock and then I spritzed one with Holly Berries Smooch Spritz to create the little sparkly deep red rose and then I added some of my Carnation Creations die cuts to the Bitty Blossom.


I had a ton of fun with all the stickers that came in the "Dear Santa" paper pack.


Making the card was SUPER easy!!! I just cut one of the 12x12 papers down to size, distressed the edges, inked them with Mix'd Media Inx CHOX, then added a bit of white paint to the edges. I then splattered the back ground with a little bit of the same paint watered down a bit then sprinkled with Twinkle Dust Glitter while all the paint was still wet. 


I added a piece of burlap from my Texture Ribbons pack and a piece of scalloped denim from my Denim Ribbons pack both from Scrapbook Adhesives by 3L®. I added 3 Bitty Blossoms and adhered a few stickers and this card was done!


In the close up photo below you can see the inked edges with glittery paint edges and splatters really well. The stickers are also from the "Dear Santa" paper line.


Supplies:

Home & Hobby


Mix'd Media Inx CHOX - Driftood
Mix'd Media Inx - Jasmine
Twinkle Dust Glitter - Sugar Shimmer
Smooch Spritz - Holly Berries

PhotoPlay "Dear Santa" papers

And don't forget about my "Girlie Grunge Holiday Cards" e-Class


For ONLY $10 you get: 
  • Detailed step by step instructions (downloadable pdf)
  • A narrated slide presentation video
  • & THREE separate start to finish videos (one for each card)

PLUS I still have some kits left for this class (see kit contents below).
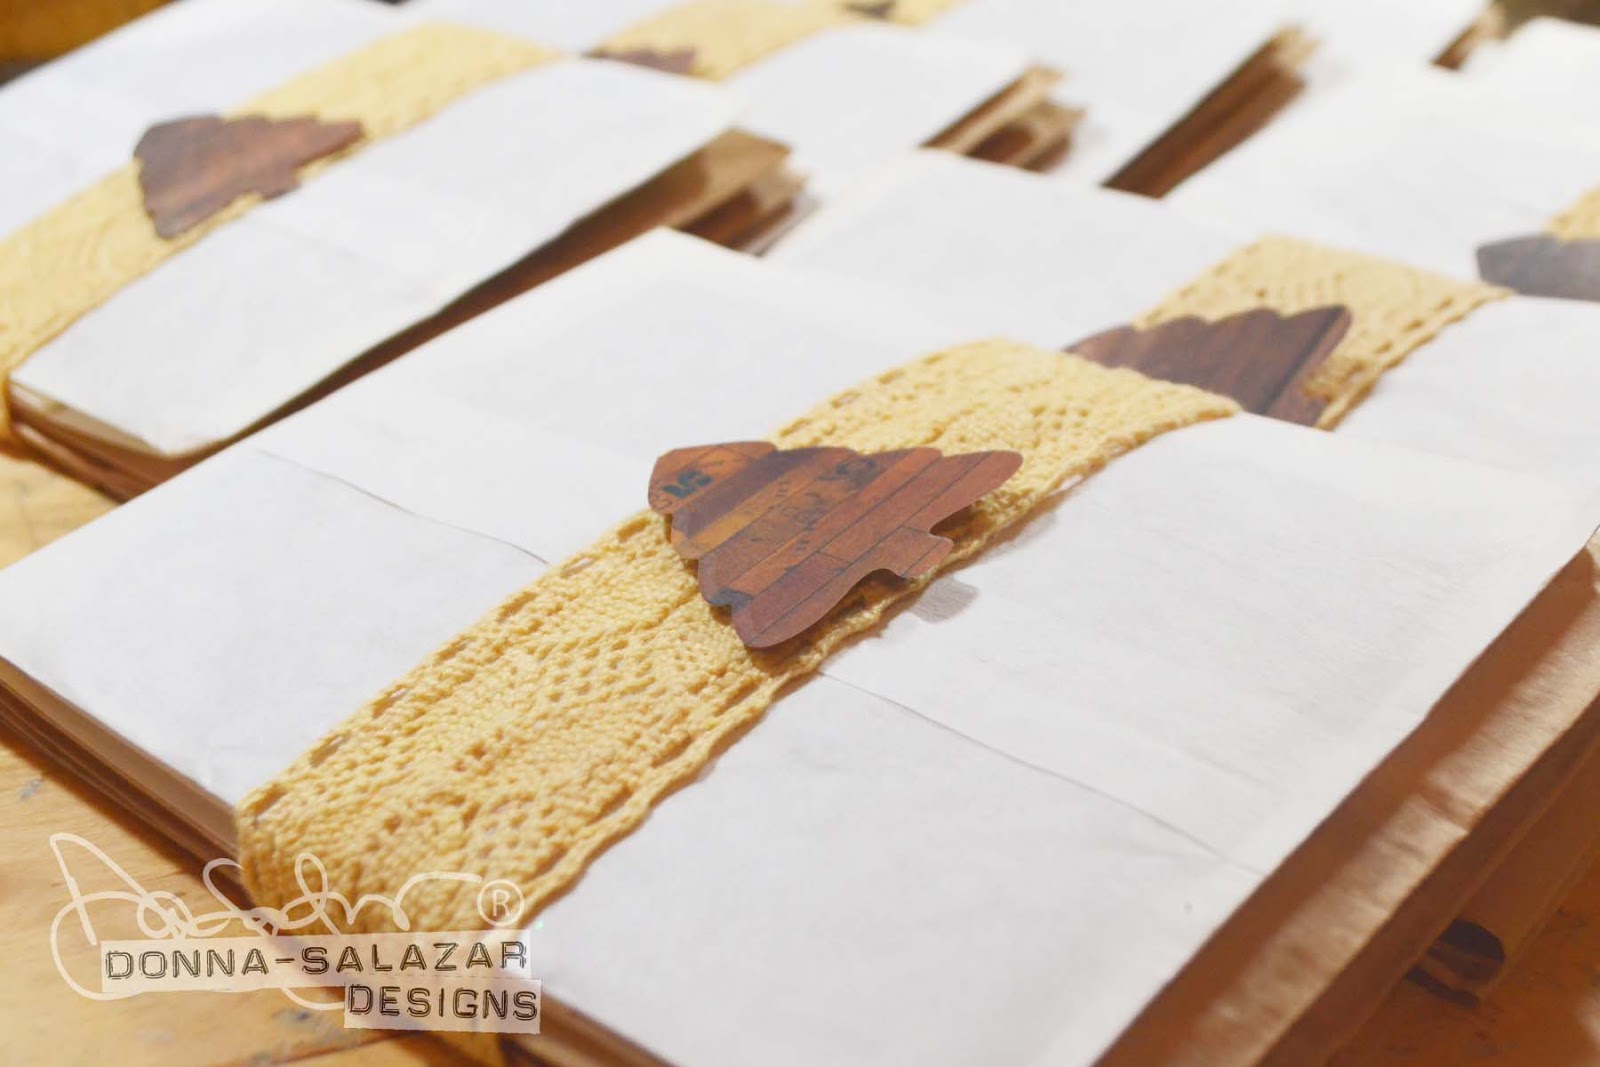
 

Click on the class info link to see more details> Girlie Grunge Holiday Cards e-Class

Thanks for stopping by!!! Smooches ~D~

Monday, October 19, 2015

Girlie Grunge Fall Decor by ~Donna Salazar

Hello my peeps! Today I'm sharing photos of a couple of Fall home decor items that I've made in my Girlie Grunge Style. 


The first project I'm going to share with you is a wood sign made with products from Jillibean Soup


I used their "Mix The Media" 8x8 Wood Plank & Ephemera Pack in Cream and their Mini Alphas in Navy. I also used my Denim Ribbon, Texture Ribbons, Lace Ribbons, 3D Foam Swirls with several adhesives from Scrapbook Adhesives by 3L® and my Bitty Blossoms die from Spellbinders.


I used cards from Jillibean Soup's Ephemera Pack to create the layered pumpkin and I inked the edges of all the paper elements with my Mix'd Media Inx™ CHOX. 


In the photo above I used the Ephemera Pack to make the leaf out of a tag and I cut a stem from one of the cards. I also used my organza ribbon (from my Texture Ribbons pack) to create the bow... When you add a bit of heat from a heat gun to the organza ribbon you can make the ribbon all wonky.


In the photo above I have a close up of my 3D Foam Swirls colored with Gold and Blue Pigment Powder then inked with my Mossy Mix'd Media Inx™ and finished with clear embossing powder over the top. You can also see my Twinkle Dust Glitter peeking out from behind the lace. You can get that effect by using a clear wide double sided adhesive tape on the back of your lace. Adhere the lace, sprinkle glitter over the top and burnish with your finger. Remove the excess and you have peek-a-boo glitter!

Supplies for the wood sign:
Home & Hobby


Mix'd Media Inx CHOX - Driftood & Sparrow
Mix'd Media Inx - Mossy
Twinkle Dust Glitter - Sugar Shimmer


The second project I want to share with you is an altered Girlie Grunge craft pumpkin.


I started with a foam craft pumpkin and decoupaged old book pages to it. I dry brushed some acrylic paint over a couple spots and made a glaze with my Pigment Powders to drip down the sides.


I added a piece of card stock to the back of a piece of denim using an Adhesive Sheet from Scrapbook Adhesives by 3L® and die cut the Bitty Blossom and the leaves with my dies. I also die cut several other Bitty Blossoms out of paper, added in some Rose Creations die cuts and made several lace flowers using my Lace Ribbons. I also added a bow using the organza from my Texture Ribbons pack. I used a heat gun to make this bow wonky as well.


I mixed my Brown Pigment Powder with acrylic medium to make the glittery brown paint that I used to paint the leaves and outlined them with a black Sharpie when the paint dried.


Above is a close up of the texture that I was able to get on the side of the pumpkin.

Supplies for the Girlie Grunge Pumpkin:


Thanks for Stopping by!!! Smooches ~D~
Where to find Donna:

Thursday, October 8, 2015

"Give Thanks" Canvas by ~Donna Salazar

Hello my peeps! Today I'm sharing photos of the canvas I made for my baby sister's birthday. I gave her the choice of a handmade item or craft supplies and she wanted something fall decor-ish... so this is what I created using the "Autumn Day" paper line from my friends at PhotoPlay and my AWESOME Donna Salazar Designs with Scrapbook Adhesives by 3L® products.


I decoupaged some old book pages to a canvas then added multiple alternating layers of paint then my Pigment Powders mixed with various mediums to make thick paint, glazes and a gold glitter wash.


I stamped random flower/leaf images around the edge of the canvas using my Mix'd Media Inx CHOX. 


I adhered the pumpkin with Premium Double Sided Tape, the sentiment with 3D Foam Squares and the bow with Dodz™XL.


After I added the bow (made from the organza ribbon in the Texture Ribbons pack) I used a heat gun to slightly melt it and make the ribbon look a little wonky.


I hope this project helps to inspire you to make some of your own fall home decor!

Product used:


Home & Hobby

Mix'd Media Inx CHOX - Sparrow

Thanks for Stopping by!!! Smooches ~D~
Where to find Donna:

Monday, September 28, 2015

Pigment Powders with Texture Paste ~by Donna Salazar

Hello my crafty peeps! Today I've got THREE different tags to share with you. I've mixed 3 different types of texture paste with my Pigment Powders with Scrapbook Adhesives by 3L®.


The first texture paste I used was Natural Sand from Liquitex. 


This texture paste is slightly transparent so you can mix 1 part Pigment Powder with 4 parts paste.


Apply the Pigment/paste mixture to your project through a stencil.


Carefully remove the stencil and let the Pigment/paste mixture dry naturally.
I inked the edges of the dry tag with my Mix'd Media Inx CHOX from Clearsnap® and tied a piece of lace from my Lace Ribbons pack with Scrapbook Adhesives by 3L®.


For the second tag I used Glass Beads texture paste. This paste is also slightly transparent so you can mix 1 part Pigment Powder with 3 parts paste.


Apply the Pigment/paste mixture through a stencil. 


Remove the stencil carefully and let the Pigment/paste mixture dry naturally.
Once it was dry I added Mix'd Media Inx CHOX to the edges and a bit of Lace Ribbon to the top of the tag.


For the 3rd tag I used Flexible Modeling Paste. This paste is opaque so you will need to mix 1 part Pigment Powder to 3 parts texture paste.


Apply the Pigment/paste mixture through a stencil.


Remove the stencil carefully and let the Pigment/paste mixture dry naturally.
Once it was dry I added Mix'd Media Inx CHOX to the edges and a bit of Lace Ribbon to the top of the tag.


I hope you liked these quick tips and hopefully they gave you some new ideas for using my Pigment Powders!

Product used:

Mix'd Media Inx CHOX - Sparrow
Mandala Art Screen (2nd tag)

Thanks for Stopping by!!! Smooches ~D~
Where to find Donna: