Showing posts with label Mix'd Media Inx®. Show all posts

Sunday, March 27, 2016

Girlie Grunge Easter Eggs by Donna Salazar

Happy Easter everyone!!! Whether you celebrate today by going to church or doing an egg hunt... or maybe by doing both, I hope that you have a blessed day and that you are surrounded by the people you love the most!!! 


I've got some Girlie Grunge Easter eggs to share with you today. I purchased some craft eggs from Michael's so that I can keep these to decorate next year too. All the eggs were made with my new Girlie Grunge Art Medium and my Pigment Powders from Scrapbook Adhesives by 3L® but I also used some of my Mix'd Media Inx from Colorbox® on a few as well.


I decoupaged a couple of the eggs then added the Pigment Powder over the damp Art Medium. When you burnish the Pigment Powder over the damp Art Medium it really makes it shine. I've talked a bit about it in the video of my DIY Doily Bowls. On one of the decoupaged eggs I added the Pigment Powder into some Art Medium watered down by half with a bit of blue Pigment Powder in the mix then used that to decoupage the egg. 


I normally don't decorate my kitchen table for anything other than Thanksgiving/Fall and Christmas/Winter but I decided to do an Easter/Spring theme this year as well. I think I'm going to keep doing this theme and will add in a cross and more Eastery stuff next year. 


Product used:
Pigment Powder - Gold, Blue, Pink

Mix'd Media Inx - Wisteria, Petals, Chiffon, Berries, Patina, Indigo


And PLEASE go to my blog post with info about my application to be the next #homeandfamilyDIYstar if you haven't seen it yet!!! I could REALLY use your help in getting my DREAM JOB!!!

Thanks for stopping by!!! Smooches ~D~

Thursday, March 24, 2016

"He Is Risen" Art Journal Page by Tracey Sabella

Hi everyone. It's Tracey here to share a new project. For the past year I've been creating pages for a Scripture Art Journal using Donna's fabulous Scrapbook Adhesives by 3L® Denim Art Journal. I'm adding an Easter page with delicate spring colors featuring Donna's new Spellbinders® Cascading Butterflies die. 


Tips and Techniques
There is a beautiful pink/orange color in the background paper flowers that I wanted to pick up for the embellishments, so I mixed wine, pink, and gold pigment powders into a dollop of Donna's Scrapbook Adhesives by 3L® Girlie Grunge Art Medium and used it to "paint" the Cascading Buterflies cut from a manilla folder. They are adhered to the page with Girlie Grunge Art Medium (uncolored).

One of the great things about this die is that you not only get the Cascading Butterflies, but also get a bevy of little butterflies at the same time. I used them two ways. A few were spritzed with Mixed Berries Smooch Spritz and went back into the spots from which they were cut. Next, I stamped a couple flourished butterflies on the page with Donna's Wisteria Colorbox® Mix'd Media Inx. I colored two of the die cut butterflies with the Pigment Powder "paint" and placed them over the stamped images. I adhered the centers of the butterflies and lifted the wings for dimension.

For texture, I applied light molding paste with a stencil and spritzed with Mixed Berries Smooch Spritz and allowed the mist to dry. I had some leftover pigment powder "paint" that I spattered across the butterflies and textured areas and also spattered with white drawing ink.

The sentiment is stamped with Wisteria Mix'd Media Inx.

To add a bit of sparkle, I applied Clearsnap® Glue Gloss to the center of the grungy round images and sprinkled with Donna's Clearsnap® Pralines & Cream Twinkle Dust Glitter.

Thanks for dropping by! I hope you've been inspired to grab your Donna Salazar goodies and create a mixed media project.

~ Blessings ~

Donna Salazar Designs Products


NEW Cascading Butterflies

Partner Products

For a complete product list please stop by my blog, Garden of Grace, HERE.

Saturday, December 12, 2015

Snowflake Gift Box by Tracey Sabella

Hi everyone. It's Tracey back to share a new project with you. 

It's that time of year when we are thinking and planning gifts for the special people in our lives. Today I'm sharing a wooden gift box I created that would be perfect for jewelry or a gift card. Donna's fabulous products were so much fun to work with on this girlie grunge snowflake box.


Tips and Techniques
I started off by painting this sweet wooden snowflake box with white gesso, then spritzed with Donna's Clearsnap Sea Breeze Smooch Spritz and then with water to lighten and spread the mist. While still damp, I used a soft, dry cloth to remove some of the mist from the snowflake to distress. When the mist was completely dry, I spritzed with a fixative to set the color.

I dabbed Clearsnap Glue Gloss on the snowflake edges and sprinkled with Donna's Clearsnap Sugar Shimmer Twinkle Dust Glitter to add a touch of girlie sparkle.

I lightly sprinkled Donna's Jasmine Mix'd Media Inx Embossing Powder over one of her Scrapbook Adhesives by 3L® Foam Swirls and heat set. Because I did not completely cover the swirl with embossing powder, it was still tacky. I sprinkled on some of the Sugar Shimmer Twinkle Dust Glitter and adore the girlie grunge effect.

I created this little rose using Donna's Spellbinders Bitty Blossoms Die and added a couple tiny roses from my stash. The leaves and flowers are held in place with DODZ™.

I rubbed Donna's Scrapbook Adhesives by 3L® Gold Pigment Powder across her E-Z Stars, then scattered them across the top half of the box. Then I applied molding paste through a stencil to look like snow.

Originally there was red ribbon looped through holes at the top of the box for handles. I replaced it with Donna's Scrapbook Adhesives by 3L® organza ribbon from her Texture Ribbon's pack. I twisted it with white twine.

Here's one final look.

I hope you've been inspired to create a holiday project with Donna's girlie grunge products.

~ Blessings ~
Tracey


Donna Salazar Products


Partner Products

For a complete product list, please stop by my blog: Garden of Grace.

Wednesday, November 18, 2015

Christmas Card & Layout by ~Donna Salazar

Hello my peeps! I've been crazy busy with preparations for CHA so it was nice to be able to take a break and make a layout and card using some of my favorite products from Spellbinders®, Scrapbook Adhesives by 3L® and Clearsnap® with "Dear Santa" papers and stickers from my friends at Photoplay™.


The first project I'm sharing is this 8.5"x11" layout with a photo of me and my bestie with my daughter that was taken TEN YEARS AGO!!! My how time has just flown by!!!


In the close up below you can see some matte splatters and some glittery splatters. I pressed my Mix'd Media Inx pad onto a non stick craft sheet then blended with water and used a fan brush to splatter. I then watered down some white acrylic paint and used the same brush to splatter that. While the paint was still wet I sprinkled my Twinkle Dust Glitter in Sugar Shimmer over it and I got 2 different types of splatters. I also added some of my E-Z Stars with the same glitter.


I added a little Girlie Grunge touch with my denim ribbon on the strip as well as a rolled denim ribbon flower. 


I made a couple of Bitty Blossoms out of white card stock and then I spritzed one with Holly Berries Smooch Spritz to create the little sparkly deep red rose and then I added some of my Carnation Creations die cuts to the Bitty Blossom.


I had a ton of fun with all the stickers that came in the "Dear Santa" paper pack.


Making the card was SUPER easy!!! I just cut one of the 12x12 papers down to size, distressed the edges, inked them with Mix'd Media Inx CHOX, then added a bit of white paint to the edges. I then splattered the back ground with a little bit of the same paint watered down a bit then sprinkled with Twinkle Dust Glitter while all the paint was still wet. 


I added a piece of burlap from my Texture Ribbons pack and a piece of scalloped denim from my Denim Ribbons pack both from Scrapbook Adhesives by 3L®. I added 3 Bitty Blossoms and adhered a few stickers and this card was done!


In the close up photo below you can see the inked edges with glittery paint edges and splatters really well. The stickers are also from the "Dear Santa" paper line.


Supplies:

Home & Hobby


Mix'd Media Inx CHOX - Driftood
Mix'd Media Inx - Jasmine
Twinkle Dust Glitter - Sugar Shimmer
Smooch Spritz - Holly Berries

PhotoPlay "Dear Santa" papers

And don't forget about my "Girlie Grunge Holiday Cards" e-Class


For ONLY $10 you get: 
  • Detailed step by step instructions (downloadable pdf)
  • A narrated slide presentation video
  • & THREE separate start to finish videos (one for each card)

PLUS I still have some kits left for this class (see kit contents below).
 

Click on the class info link to see more details> Girlie Grunge Holiday Cards e-Class

Thanks for stopping by!!! Smooches ~D~

Thursday, August 20, 2015

Techniques for 3D Foam Shapes

Hello my peeps! Today I have FOUR different stepped out techniques for you to use with my new 3D Foam Keys and 3D Foam Swirls from Scrapbook Adhesives by 3L®

These are the 4 little mini projects that I created to show you the techniques.

I've got these projects in order below from basic to complex.

Pigment Powder With 3D Foam Keys

1. Adhere the 3D Foam Keys to your surface.

2. Remove the liner.
3. Use finger to rub Brown Pigment Powder over adhesive.

The Pigment Powder is so fine that the adhesive will no longer be tacky!

Add embellishments to finish (loopy lace from the Lace Ribbons were used).


Pigment Powder and Glitter With 3D Foam Swirls

1. Adhere 3D Foam Swirls to surface.
2. Use paintbrush to dab 2 different colors of Pigment Powder on the ends.

3. Add glitter & rub into adhesive.

You get a Girlie Grunge 3 toned effect!

Embellish to finish (loopy lace from the Lace Ribbons and Canvas Ribbons used).


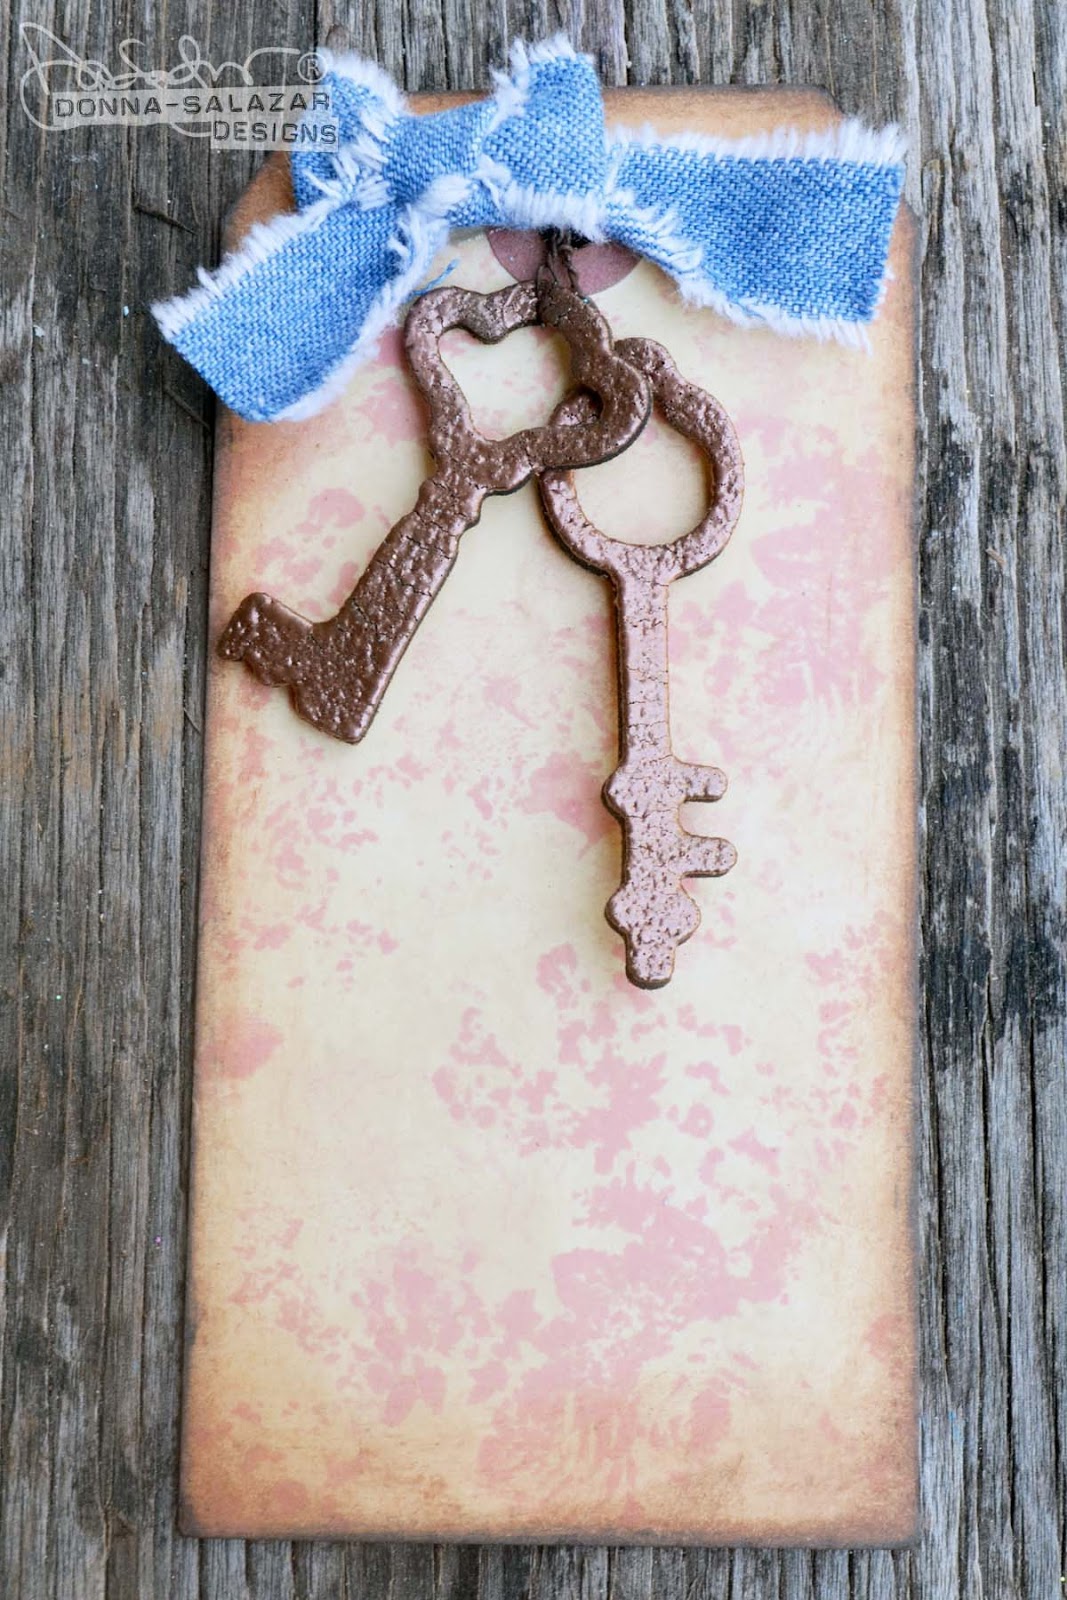
Hanging 3D Foam Keys With Embossing Powder and Pigment Powder

1. Remove the 3D Foam Keys from the sheet.
2. Leave top liner on 3D Foam Key.
3. Flip 3D Foam Key over.
4. Add embossing powder.

5. Return excess powder to container.
6. Heat set embossing powder.

7. Turn 3D Foam Key over.
8. Remove top liner.
9. Use finger to rub Brown Pigment Powder onto adhesive.

10. Tie wire or string through the top of the 3D Foam Key.
Front (left) Embossed surface - Back (right) Pigment Powder

Add to your project

You can see that the 3D Foam Keys are hanging free, away from the tag.

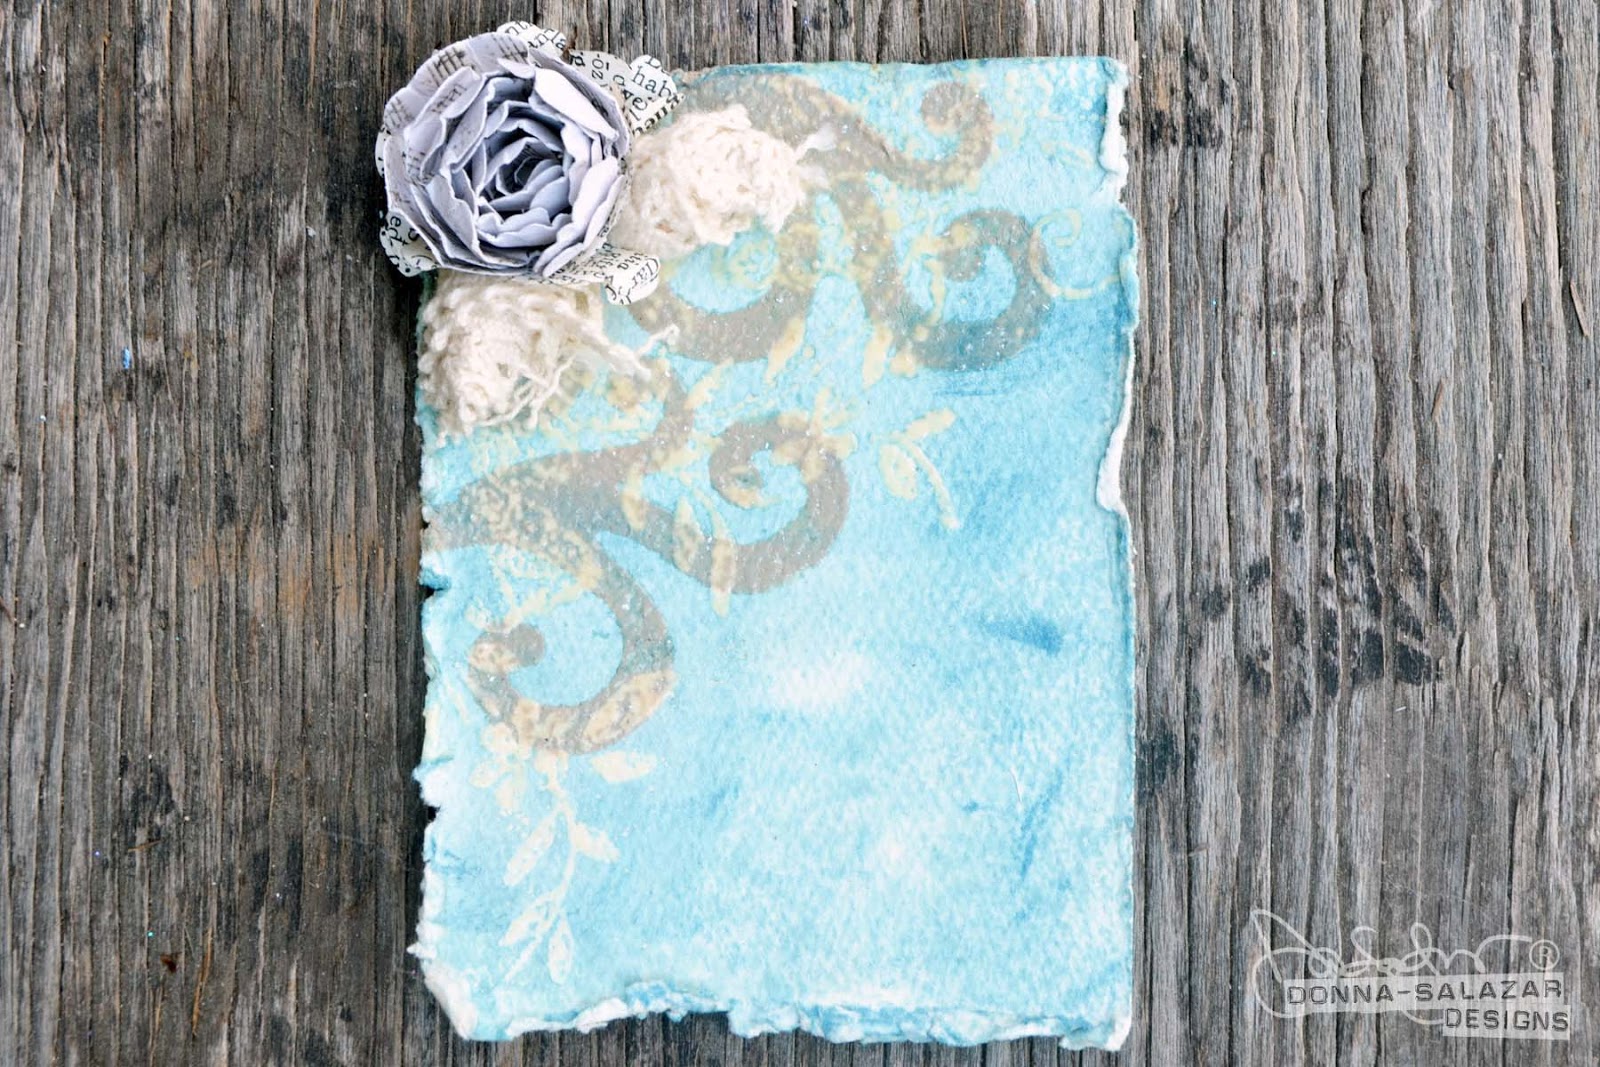
Stamping With 3D Foam Swirls

1. Adhere 3D Foam Swirls to a piece of acrylic.
2. Paint with clear gesso or acrylic medium and let dry.

3. Stamp images using Mix'd Media Inx (pigment ink).
4. Sprinkle clear embossing powder over stamped images.

5. Return excess embossing powder to container.
6. Heat set embossing powder.

Embellish to finish (Texture Ribbons & Spellbinder Bitty Blossoms dies used) 


Product used:

Mix'd Media Inx® - Honey
Mix'd Media Inx® CHOX - Driftwood, Sparrow, Petals
Mix'd Media Inx Embossing Powder - Leather
Twinkle Dust Glitter


Thanks for Stopping by!!! Smooches ~D~
Where to find Donna: