Hello my peeps! Today I have FOUR different stepped out techniques for you to use with my new 3D Foam Keys and 3D Foam Swirls from
Scrapbook Adhesives by 3L®.
These are the 4 little mini projects that I created to show you the techniques.
I've got these projects in order below from basic to complex.
Pigment Powder With 3D Foam Keys
1. Adhere the 3D Foam Keys to your surface.
2. Remove the liner.
3. Use finger to rub Brown Pigment Powder over adhesive.
The Pigment Powder is so fine that the adhesive will no longer be tacky!
Add embellishments to finish (loopy lace from the Lace Ribbons were used).
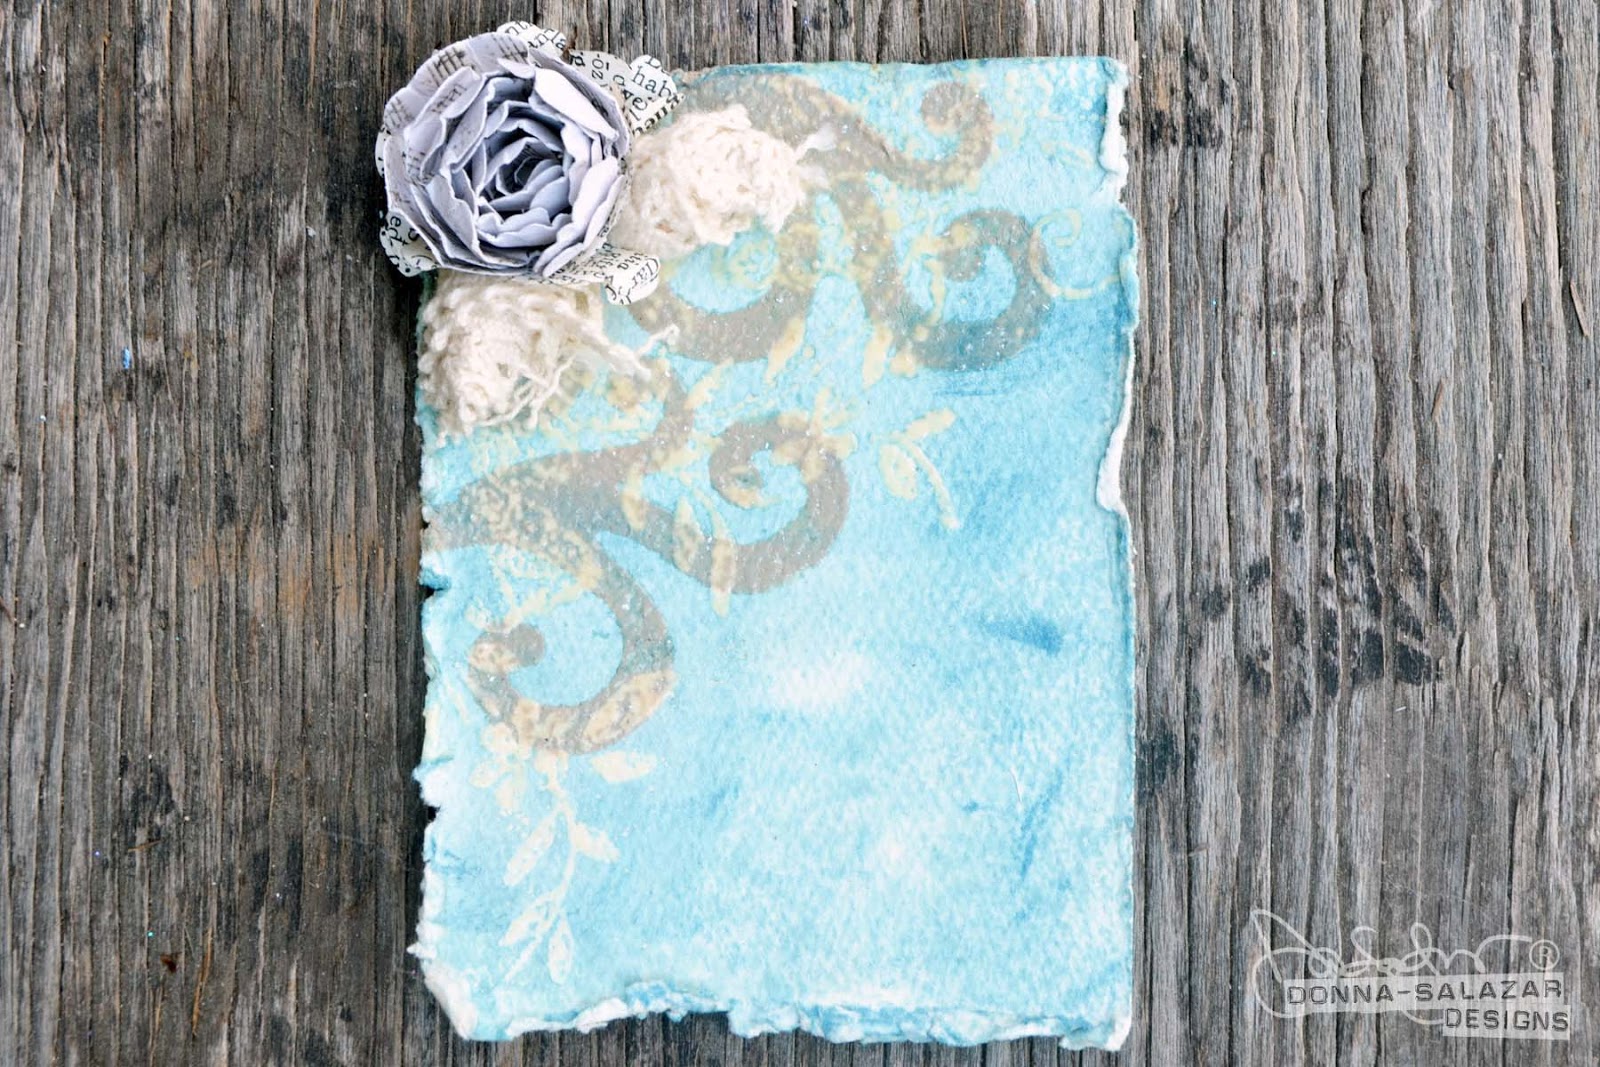
Pigment Powder and Glitter With 3D Foam Swirls
1. Adhere 3D Foam Swirls to surface.
2. Use paintbrush to dab 2 different colors of Pigment Powder on the ends.
3. Add glitter & rub into adhesive.
You get a Girlie Grunge 3 toned effect!
Embellish to finish (loopy lace from the Lace Ribbons and Canvas Ribbons used).
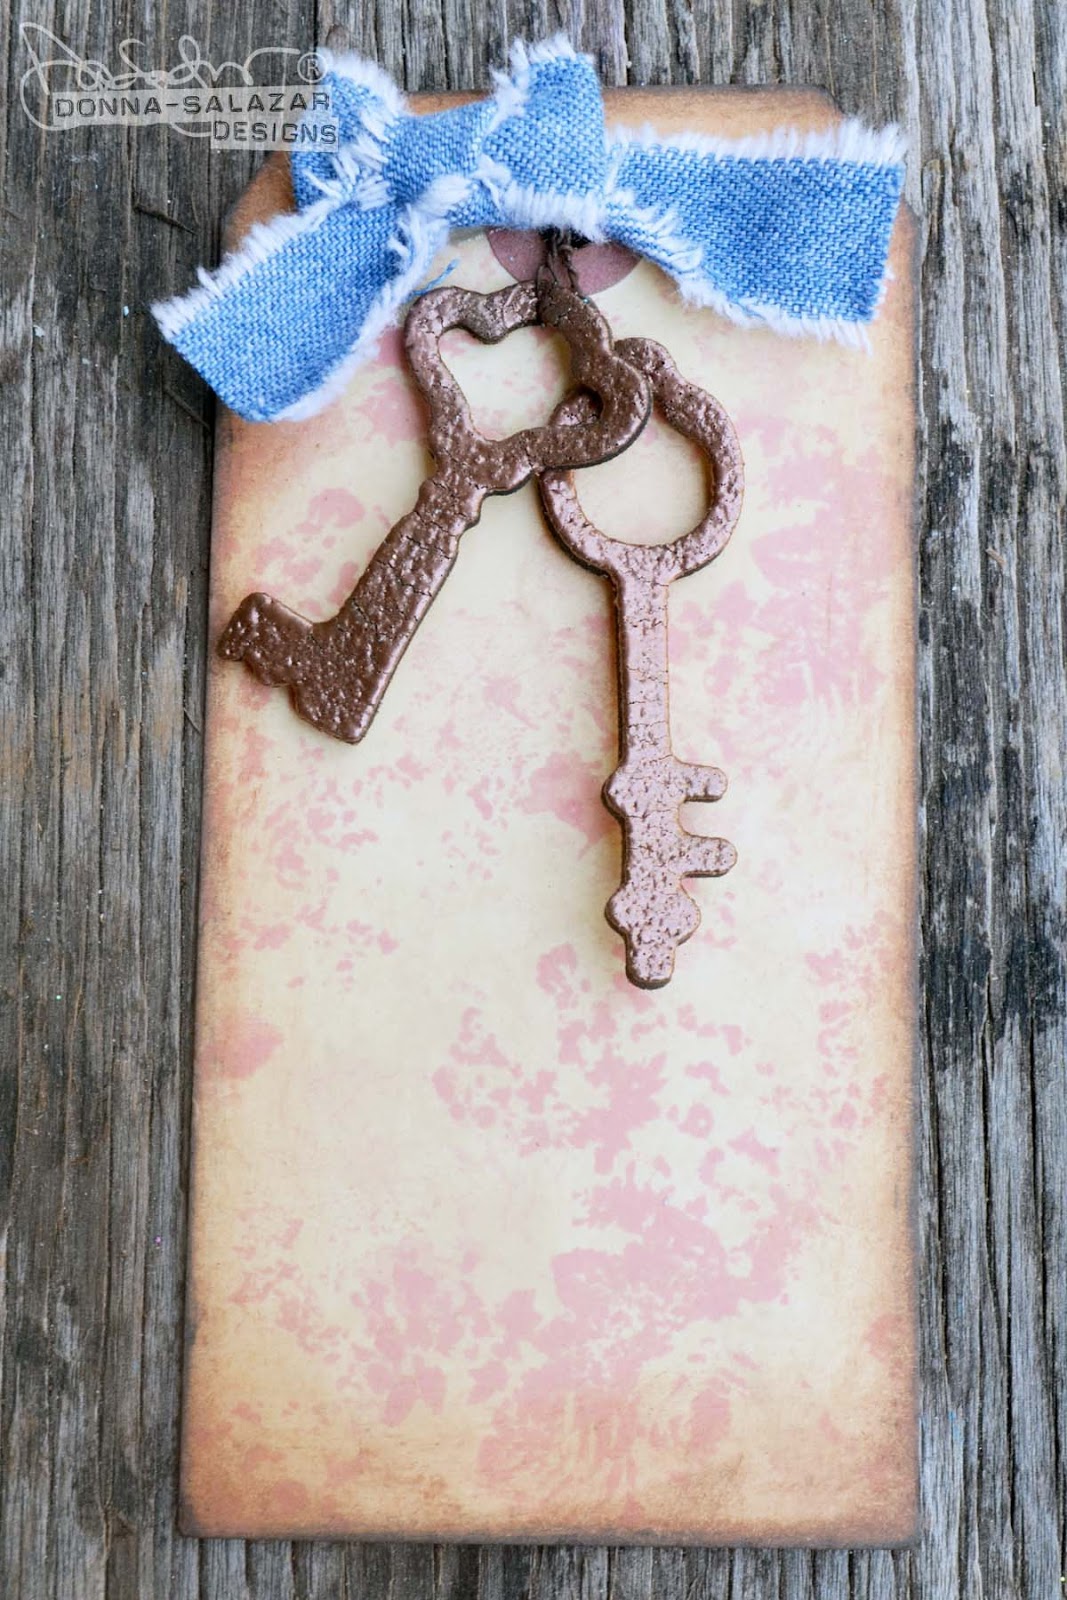
Hanging 3D Foam Keys With Embossing Powder and Pigment Powder
1. Remove the 3D Foam Keys from the sheet.
2. Leave top liner on 3D Foam Key.
3. Flip 3D Foam Key over.
4. Add embossing powder.
5. Return excess powder to container.
6. Heat set embossing powder.
7. Turn 3D Foam Key over.
8. Remove top liner.
9. Use finger to rub Brown Pigment Powder onto adhesive.
10. Tie wire or string through the top of the 3D Foam Key.
Front (left) Embossed surface - Back (right) Pigment Powder
Add to your project
You can see that the 3D Foam Keys are hanging free, away from the tag.
Stamping With 3D Foam Swirls
1. Adhere 3D Foam Swirls to a piece of acrylic.
2. Paint with clear gesso or acrylic medium and let dry.
3. Stamp images using Mix'd Media Inx (pigment ink).
4. Sprinkle clear embossing powder over stamped images.
5. Return excess embossing powder to container.
6. Heat set embossing powder.
Embellish to finish (Texture Ribbons & Spellbinder Bitty Blossoms dies used)
Product used:
Mix'd Media Inx® - Honey
Mix'd Media Inx® CHOX - Driftwood, Sparrow, Petals
Mix'd Media Inx Embossing Powder - Leather
Twinkle Dust Glitter
Thanks for Stopping by!!! Smooches ~D~
Where to find Donna: