Showing posts with label Quick Craft Tips. Show all posts

Saturday, September 19, 2015

Create Roses From Fall Leaves ~by Donna Salazar

Hello my peeps! I don't know about you but I'm SO ready for summer to be over! I love Fall and Winter mostly because my favorite holidays (Thanksgiving and Christmas) are in these seasons but also because I'm just not good in heat and never have been. So since I'm already gearing up for Fall (it's officially only 2 days away... WOOHOO!) I wanted to make something for the house with a Fall theme. 

I decided to make a wall hanging for my kitchen using some of the branches collected by my grandson (who we call the "branch manager" because he is fascinated by sticks and branches) as well as the new "Autumn Day" papers from Photoplay. I also have a video tutorial showing you how I created Roses made from Fall leaves (inspired by a photo that I saw on Pinterest) as well.


So here are some tips for prepping a project like this...
Soak your leaves in soapy water for a good 20-30 minutes before making them into flowers. This will clean your leaves but it will also ensure that you don't have any unwanted critters.


Pat the leaves dry between paper towels and gently rub to remove any remaining dirt.


I created 2 die cuts from the same piece of paper in the Autumn Day line called "Think To Remember" (It has "fall-ish" words on one side and plaid on the other) using the Spellbinder's die "Imperial Gold Labels Four". I adhered the two together using 3D Foam Squares from Scrapbook Adhesives by 3L®.


I inked the edges of the dies as well as one of the stickers from the Autumn Day paper line with Honey Mix'd Media Inx and Sparrow Mix'd Media Inx CHOX (both from Clearsnap®).


I wanted to add the long sticker to the wallhanging but I needed to remove the stickiness from the back so I used my Pigment Powder from Scrapbook Adhesives by 3L® to do just that.


I used a soft fan brush dipped in the Brown Pigment Powder and lightly brushed it over the adhesive side of the sticker. When I was done I used a baby wipe to remove any Pigment Powder from the front.


I then cut apart the Burlap Ribbon from my Texture Ribbons pack.


I cut off the sewn edges then cut the middle in half lengthwise then cut those middle pieces in half again so I had 4 pieces that were approximately the same size and width.


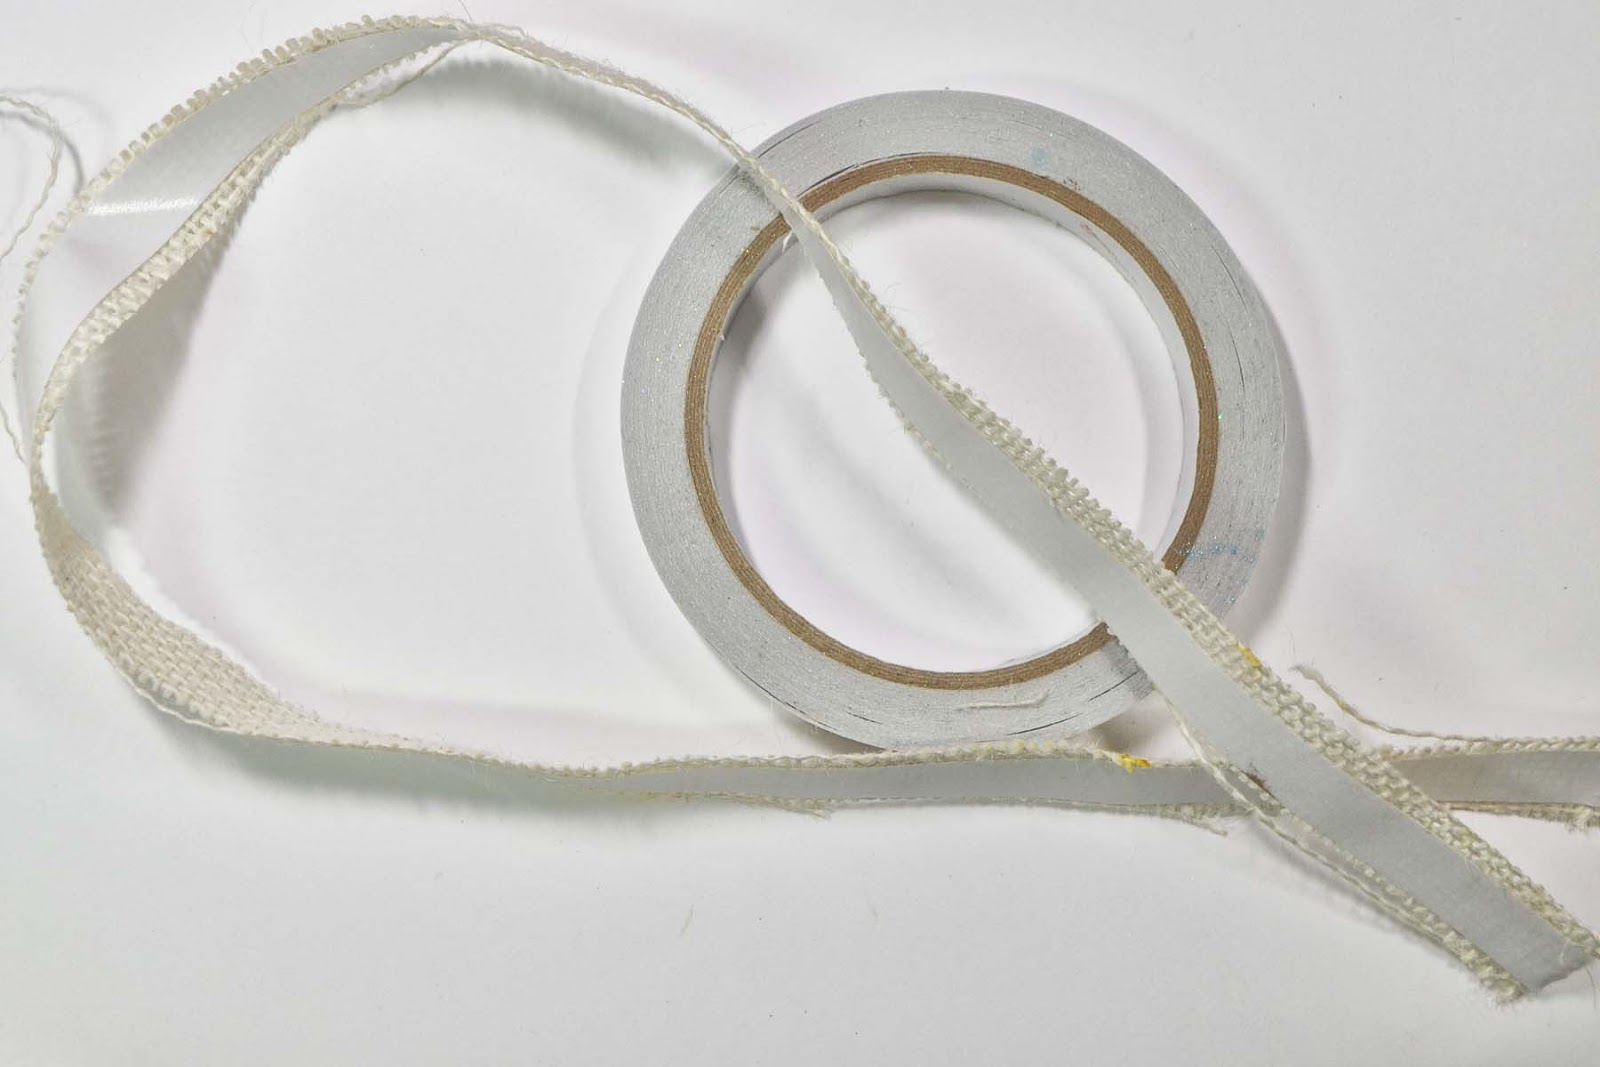
I used the Home & Hobby Premium Double Sided Tape in 1/2" size on the back of the Burlap so that I could use it to wrap around the base and stems of the rose.

This is what the rose looked like once I started wrapping.


Watch the video below to see how I created one of the flowers from leaves 
(Click on the YouTube icon in the bottom right corner for a larger view)


These are the 3 finished roses.


And here is the finished piece.


Close ups of some of the detail: I used my Grand Peony and Bitty Blossom dies from Spellbinders as well as both of the ribbons in my Lace Ribbons pack from Scrapbook Adhesives by 3L® to create the little flowers in the bottom corner. I adhered the die cut title and all of the embellishments using my Dodz™XL because these babies have some crazy holding power!


Another close up of the details. By the way, those little fluffy things on a stick are actually from one of the trees in our yard... it was just sitting on my front step the other day and of course I had to bring it inside to use on a project! ;)


The photo below is the project hanging in my kitchen.


And for those of you who think Hunter's branch gathering is as cute as I do... 


Product used:


Home & Hobby

Grand Peony Creations (discontinued)

Mix'd Media Inx - Honey
Mix'd Media Inx CHOX - Sparrow

Thanks for Stopping by!!! Smooches ~D~
Where to find Donna:

Monday, September 7, 2015

Embossed E-Z Stars Technique by ~Donna Salazar

Happy Labor Day!!! Today I have the second E-Z Stars from Donna Salazar with Scrapbook Adhesives by 3L® Quick Craft Tip for you. 


I started with a tag that already had the background done. I added some of my E-Z Stars randomly around the tag. I'm going to use 2 different colors of embossing powders so I've only added the first half of the E-Z Stars in the photo below.


I sprinkled a little bit of Mix'd Media Inx Leather (brown) embossing powder on the stars in the photo below. If you want a clean look you would then return the excess powder to the tub but I wanted it to have a bit of a Girlie Grunge look to it so I pressed the embossing powder into the stars so some of it would extend outside the edges.


After returning the excess powder to the tub, I added the second half of the E-Z Stars. I sprinkled the Denim (blue) Mix'd Media Inx embossing powder over these E-Z Stars and also pressed the powder into the background.


Heat set both colors of embossing powder at the same time.

I cut a strip of burlap ribbon (from the Texture Ribbons pack), tied it into a small bow then adhered it to the top of the tag with a Dodz™ 3D. 


Product used:

Scrapbook Adhesives by 3L®


Mix'd Media Inx embossing powder

Thanks for Stopping by!!! Smooches ~D~
Where to find Donna:

Sunday, September 6, 2015

E-Z Stars Basic Technique by ~Donna Salazar

Hello my peeps!!! I've got a "Quick Craft Tip" for you today using my new E-Z Stars from Scrapbook Adhesives by 3L®... one of my most FAVE new products!!! 


I started with a tag that already had a colored background. I used my new E-Z Stars runner (and did I mention that these babies are refillable?),  some of my Pigment Powder in Gold also from Scrapbook Adhesives by 3L® and some of my Twinkle Dust Glitter from Clearsnap®.


To dispense the stars individually, advance star to the tip as shown below.


After you place some stars randomly on your background, use your finger to burnish the Pigment Powder in Gold over the adhesive. Once you burnish the stars with the Pigment Powder they will no longer be sticky!!!


I randomly added more stars to the background then burnished them with my Twinkle Dust Glitter.


I added some 3D Foam Stars from Scrapbook Adhesives by 3L and burnished them with more of my Pigment Powder in Gold then tied strips of my Organza Ribbon from the Texture Ribbons pack... also from Scrapbook Adhesives by 3L®. I heated the ribbons to melt them slightly and make them ruffle.


Below is a photo of 3 different tags that I've made using my E-Z Stars. I'll have another "Quick Craft Tips" post for the 2nd tag tomorrow (September 7th) and  another for the 3rd tag on Tuesday (September 8th). 


Product used:

Scrapbook Adhesives by 3L®

Twinkle Dust Glitter

Thanks for Stopping by!!! Smooches ~D~
Where to find Donna:

Sunday, March 15, 2015

Take Me Deeper - "I Will Seek You" by ~Donna

Hello my peeps! I'm a little late posting my project for His Kingdom Come's Take Me Deeper project this week. I do have a fun Quick Craft Tip video showing you start to finish how I made the peeled paint background for this canvas. You can watch that video by clicking on the link below.


In the photo above you can see the little birds that I made with a glaze made from my Gold Pigment Powder and Beacon's Fast Finish Decoupage. The shadow around the heart and the edge of the canvas were made with my Brown Pigment Powder and Fast Finish Decoupage. 

In the photo above you can see a little bit of the detail on the heart. The shading of the heart was made with my Pink Pigment Powder with Fast Finish Decoupage. You can also see how I got the paint on the heart to bubble up. I did that by heating the paint with a heat gun.

In the photo above you can see a little bit of the sparkle showing up from the Pigment Powder. You can also see the words that were stamped with my Mix'd Media Inx CHOX in Midnight.

And here is one more close up. You can see a start to finish video of me creating the 

Product used:

Pigment Powder - Gold, Brown, Pink

Mix'd Media Inx CHOX - Midnight

Liquitex - Basics acrylic paint
Beacon Adhesives - Fast Finish Decoupage

Thanks for Stopping by!!! Smooches ~D~
Where to find Donna: