
It's Tracey here to share a card I created featuring Donna's Spellbinders Wonderful Wings dies and Clearsnap Twinkle Dust Glitter along with a photo tutorial on how to create my Twinkling Butterflies.


Butterfly Card
Tips and Techniques
Here's a close-up of the Twinkling Butterflies. Please scroll down to find my tutorial.
I've embellished with one of my Open Lace Roses using Donna's Spellbinders Grand Peony and Rose Creation Dies. My tutorial for these flowers can be found here. (Please note, even the largest of the "Grand" Peony dies fit in regular size die cut machines.)
Below the rose, I've layered Spellbinders Foliage leaves cut from Donna's Mix'd Media Stax 2 Mulberry paper. Some are lightly inked and some left in the natural color.
Another view of the butterflies and flower.
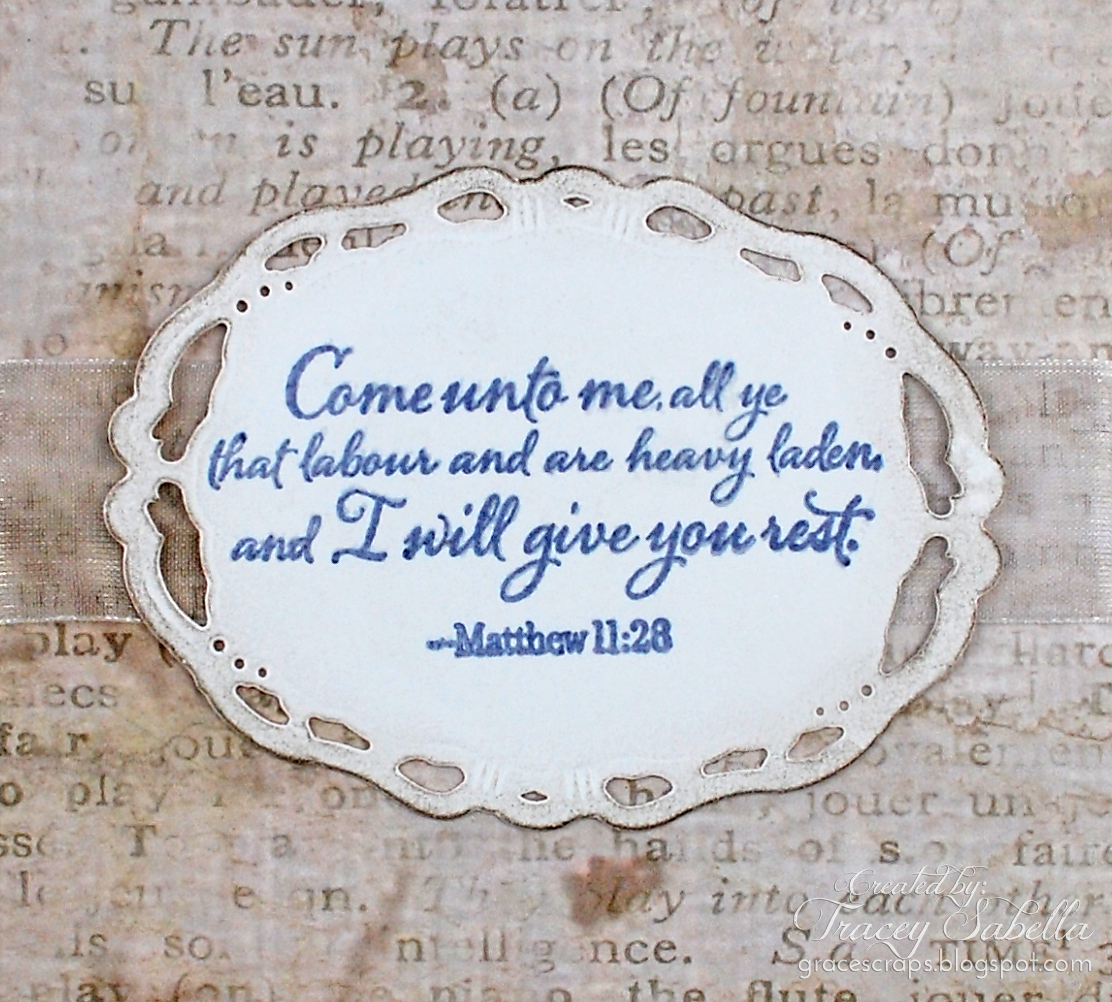
I've stamped the sentiment with Donna's Mix'd Media Inx, then heat embossed with Clearsnap clear embossing powder.
Edges of the card and sentiment flag are distressed with Donna's Zutter Distrezz-it-All.
I've used the same techniques for the sentiment inside the card.
A side view.
Twinkling Butterfly Tutorial
Supply List
Donna Salazar Products
Spellbinders ~ Wonderful Wings Dies
Clearsnap ~ Twinkle Dust Glitter - Mixed Berries
Clearsnap ~ Mix'd Media Inx - Denim
Other Products
Cardstock
Clearsnap ~ Glue Gloss
Want2Scrap ~ Say It with Pearls Baby Bling - White
Want2Scrap ~ Say It with Pearls - Tear Drop Pearls - White
Spellbinders ~ Artisan X-plorer
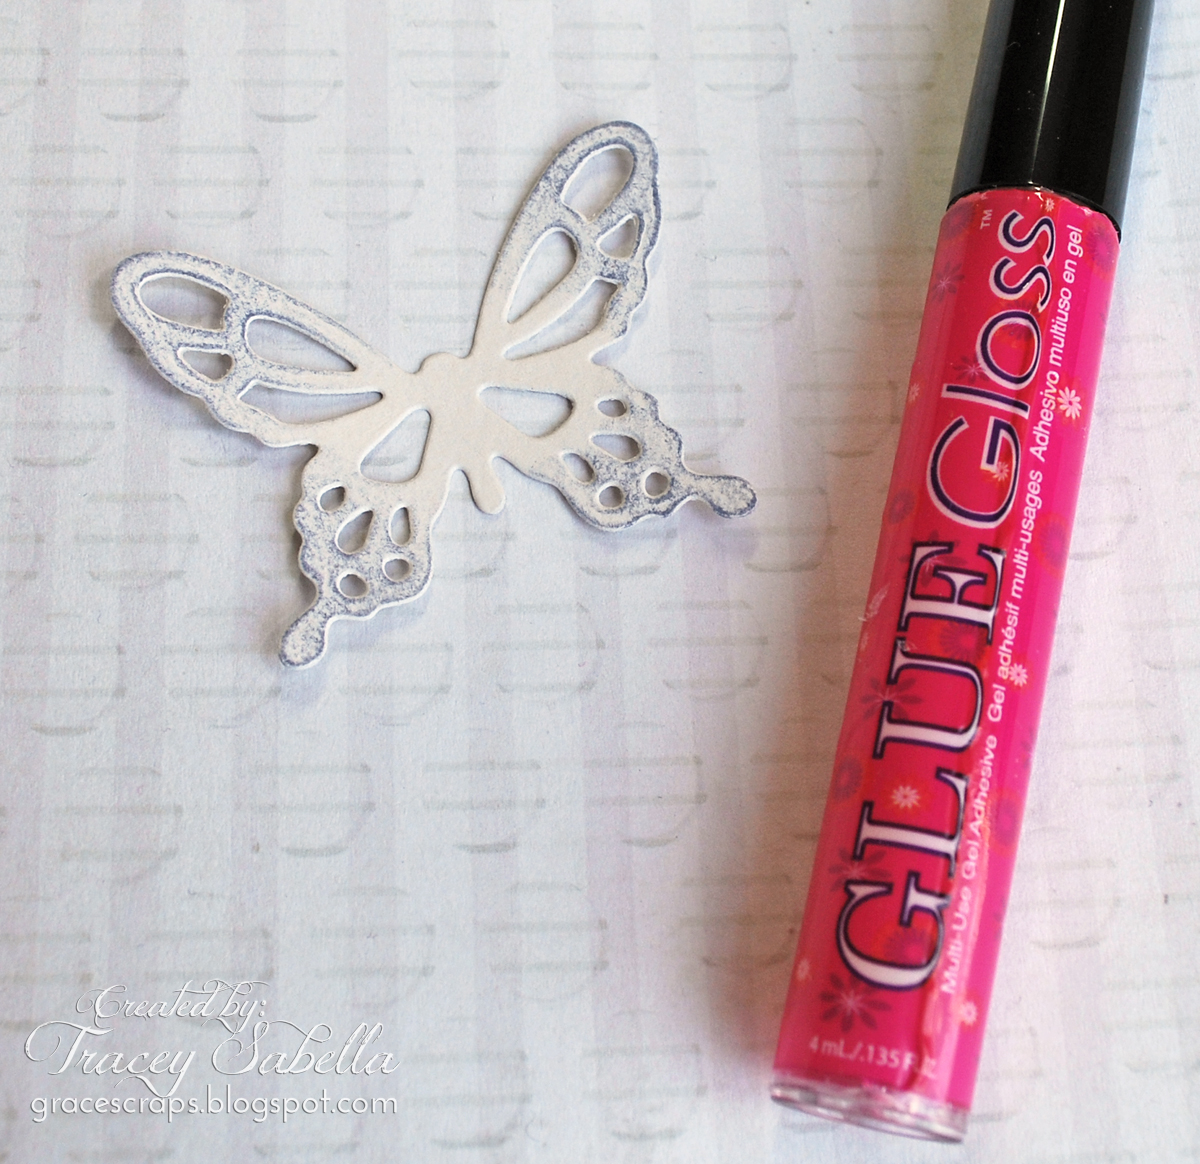
Step 1. Select one of the Wonderful Wings Butterflies and cut from a scrap of white or light cream cardstock.
***Hint*** To more easily remove the intricately cut paper from the die, layer two sheets of wax paper between the die and the paper when cutting.
Step 2. Lightly rub Denim Mix'd Media Inx across the edges of the wings as shown.

Step 3. Brush Glue Gloss across the wings in the areas you have inked.
Step 4. Sprinkle the wet glue with Donna's Twinkle Dust Glitter in Mixed Berries. (Donna's Fairy Dust Glitter has been renamed to Twinkle Dust Glitter.)
Step 5. Add pearls for the body of the butterfly.
~ Blessings ~
Donna Salazar Products
GCD Studio ~ Natural Beauty Collection
Clearsnap ~ Mix'd Media Inx - Denim
Clearsnap ~ Mix'd Media Inx - Stormy
Clearsnap ~ Mix'd Media Inx CHOX - Bluejay
Clearsnap ~ Mix'd Media Inx Embossing Powder - Jasmine
Clearsnap ~ Twinkle Dust Glitter (Formerly Fairy Dust Glitter)
Spellbinders ~ Wonderful Wings
Spellbinders ~ Grand Peony
Spellbinders ~ Rose Creations
Zutter ~ Distrezz-it-All
Other Products
We R Memory Keepers ~ Storytime Cloud Cardstock
Want2Scrap ~ TearDrop Pearls, white
Want2Scrap ~ Baby Bling Pearls, white
Want2Scrap ~ Beautiful Bling Border
Darice ~ Finishing Accent Brads 12mm Crystal AB
Organza Ribbon ~ Stash
Lace ~ Stash
Doily ~ Stash
White Thread ~ Stash
Clearsnap ~ Clear Embossing Powder
Spellbinders ~ Foliage; Pendants in Spades; Opulent Ovals
Close to My Heart ~ Sincere Expressions; Look to the Light
Clearsnap ~ Glue Gloss
Helmar ~ Craft and Hobby PVA Glue; 450 Quick Dry Adhesive
Spellbinders ~ Artisan X-plorer
Sewing Machine
Tracey, This card and these butterflies are beautiful. I hope your friend is doing okay after losing her husband. Tjet
ReplyDeleteThanks so much, Tjet!! ~ Blessings
DeleteThis is absolutely stunning! Thanks for the great tutorial! TFS!
ReplyDeleteBeautiful Tracey, the butterflies really look pretty with their twinkle.
ReplyDeleteLove, love and love your card, it´s so beautiful. Thank tou for sharing whit us. xxx
ReplyDelete